1.1 sMonitor ubuntu开发平台
来自小蚁工场,专注嵌入式、物联网与人工智能技术。
Jason(讨论 | 贡献)2021年1月20日 (三) 19:33的版本 (创建页面,内容为“ <div class="No_Select"> {| style="width: 100%" | style="align=left width="70%"| 正文 ------- ===vmware虚拟机软件安装=== 软 件 包:VMware-workstat...”)
|
正文 目录vmware虚拟机软件安装软 件 包:VMware-workstation-full-12.0.0.zip 操作系统:windows-7/8/10 安装过程: 如下所示 准备工作1 在d盘创建一个temp目录
2 将VMware-workstation-full-12.0.0.zip拷贝到temp目录
3 解压VMware-workstation-full-12.0.0.zip
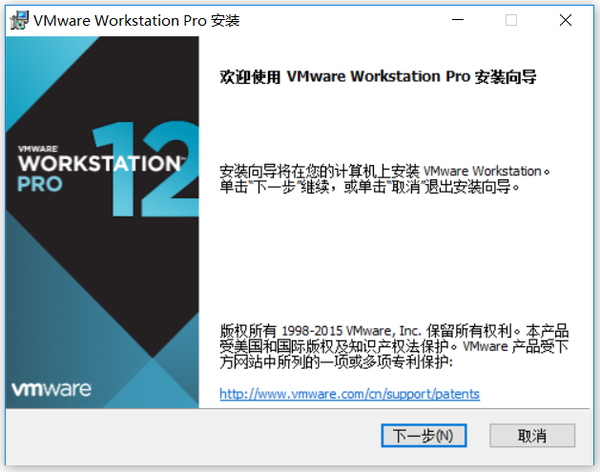
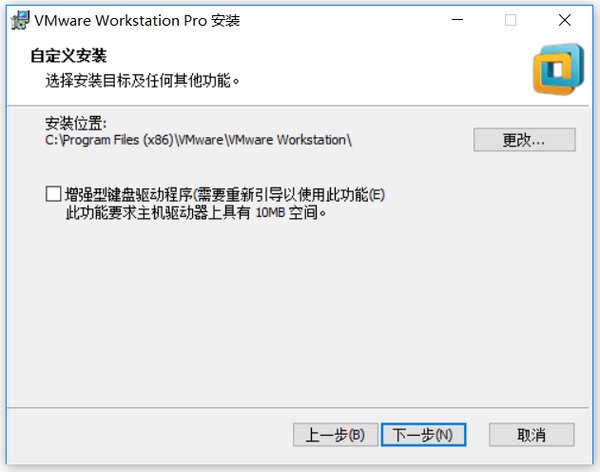
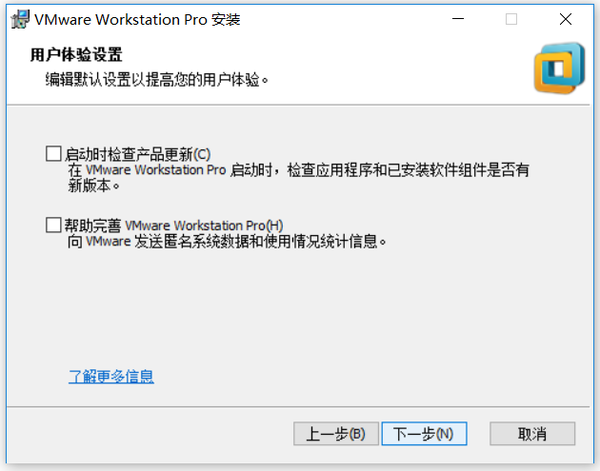
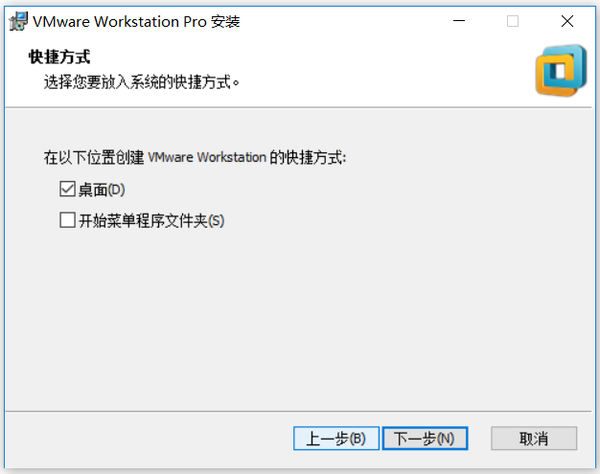
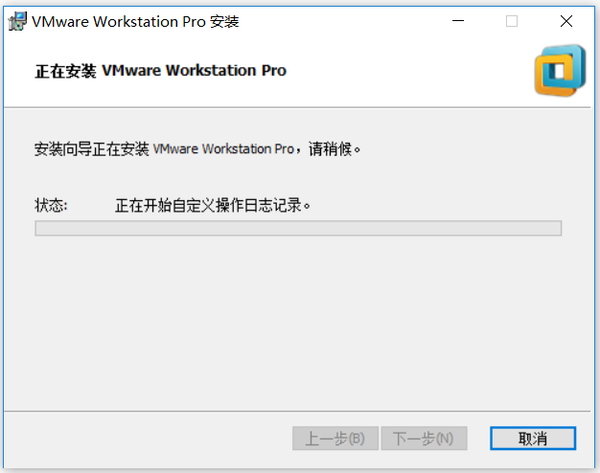
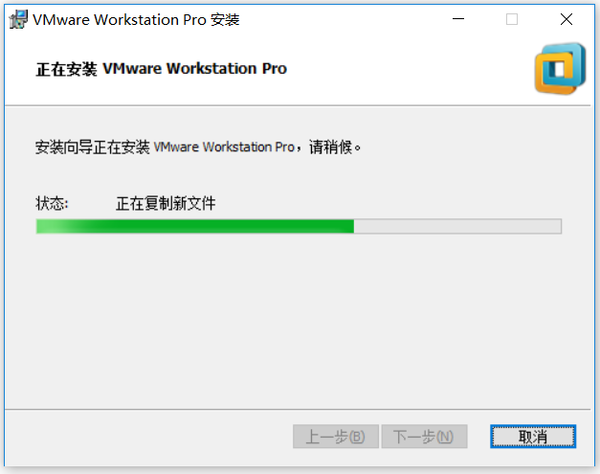
开始安装
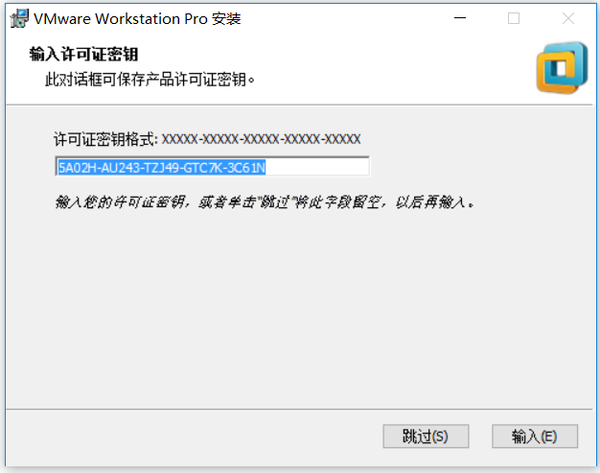
安装密钥
ubuntu16快速安装软 件 包:64bitPlatform_1604_v5.0.zip 操作系统:windows-7/8/10 安装过程: 如下所示 安装ubuntu系统
可以看到64bitPlatform_1604_v5.0目录,即为ubuntu16.04的系统镜像,可以直接使用。
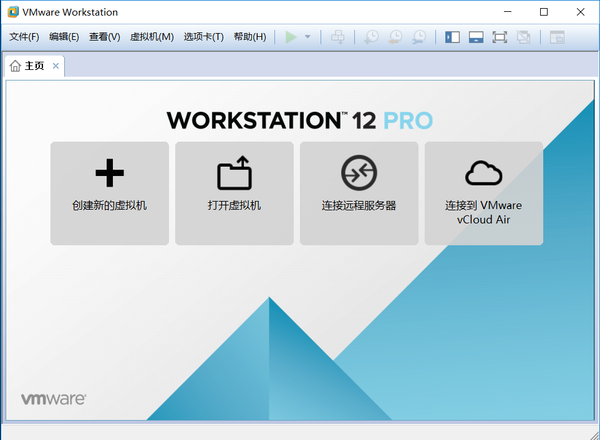
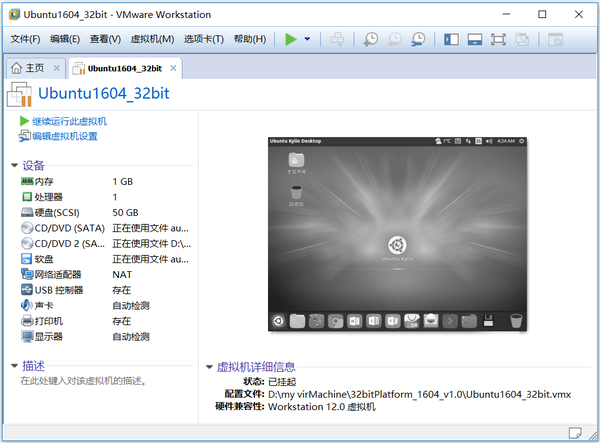
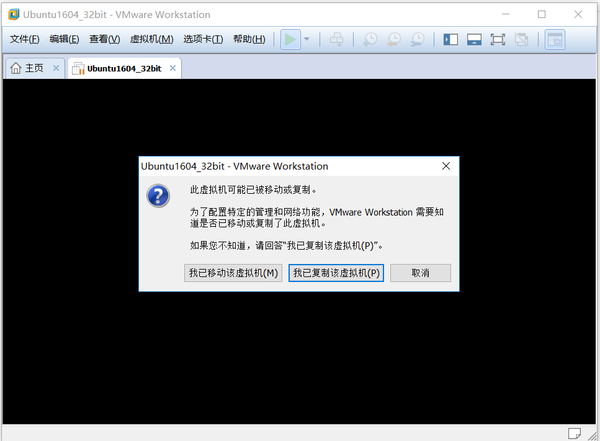
运行ubuntu系统
可以看到一个“挂起状态”的ubuntu16.04系统。
正常进入“ubuntu系统主界面”。
至此,整个ubuntu1604系统安装完毕。
设置共享目录
root@ubuntu:~# ls /mnt/hgfs 如果出现:ls: cannot access '/mnt/hgfs': Protocol error ,说明还没有配置共享目录
root@ubuntu:~# ls /mnt/hgfs/mklinux/ 发现在/mnt/hgfs目录下,多了一个名为mklinux的目录,说明可以设置两个系统间的共享文件夹了。
shell命令简单使用shell终端打开点击mouse右键,选中”open terminal”,打开shell终端。 或者同时按下“ctrl + alt +t”快速打开
gec@ubuntu:~$
~ :家目录 /home/gec
root@ubuntu:~#
常用shell命令此处略
实践操作
#mkdir /opt/shell_test
#cd /opt/shell_test
#ls /opt/shell_test
#mkdir hello
#ls
#rmdir hello
#ls
#touch hello.c
#ls
#rm hello.c
#mkdir hello
#touch hello/hello.c 			//新建一个文件
#touch world.c
#ls
#rm -rf ./*
#ls
#cd /opt/shell_test
#ls
#chmod 777 hello.c
#ls

#cp hello.c hello_backup.c  -rdf
#ls

#mv hello_backup.c 123.c
#ls
#mkdir test
#mv 123.c test
#mv test smartHome

#tar cvfj smartHome.tar.bz2 smartHome
#ls
#rm -rf smartHome
#ls
#tar xvfj smartHome.tar.bz2
#ls
#cd /opt/shell_test
#rm -rf ./*

#touch hello.c
#vi hello.c
可以进入文件中,按下i,就可以编辑内容

#include <stdio.h>
int main()
{
        printf("hello world.\n");
        return 0;
}

按下Esc,退出插入模式,再输入
:wq!  (保存退出)

#gcc hello.c -o hello
#./hello
实践练习
1. 下载MPlayer-1.3.0.tar.xz源码包并共享到ubuntu系统目录下
2. 安装依赖库
   apt-get install yasm
   apt-get install zlib1g-dev   // 否则会提示zlib.h: No such file or directory
2. 解压
   unxz  MPlayer-1.3.0.tar.xz
   tar xvf MPlayer-1.3.0.tar
3. 配置
   cd MPlayer-1.3.0
   ./configure
4. 编译
   make

经过一小段时间编译后,在当前目录下会发现有一个名为mpayer的可执行代码
|