“1.1 sMonitor ubuntu开发平台”的版本间的差异
(→动手实践) |
(→动手实践) |
||
| 第487行: | 第487行: | ||
<br> | <br> | ||
| + | |||
| + | ===应用开发=== | ||
| + | |||
| + | |||
| + | ====测试代码开发==== | ||
| + | *工程包准备 | ||
| + | |||
| + | 进入ubuntu,打开终端,执行 | ||
| + | |||
| + | cd /nfs | ||
| + | |||
| + | 从网页中下载demo包[[Media:playDemo.tar.bz2 |playDemo.tar.bz2[下载]]],并放置共享文件目录,返回ubuntu终端,执行: | ||
| + | |||
| + | cp /mnt/hgfs/shareWin/playDemo.tar.bz2 ./ | ||
| + | tar xvfj playDemo.tar.bz2 | ||
| + | cd playDemo | ||
| + | |||
| + | *代码开发 | ||
| + | |||
| + | 打开源文件playCtl.c | ||
| + | vi playCtl.c | ||
| + | |||
| + | 在main函数中,添加 | ||
| + | <!-- | ||
| + | <syntaxhighlight lang="ruby"> | ||
| + | char *argv[]={"maplayer","-slave","-quiet","-input","file=/opt/fifo","-playList", "MediaList",NULL}; | ||
| + | |||
| + | pid = fork(); | ||
| + | if(pid < 0){ perror("fork failed\n");return -1;} | ||
| + | else if(pid == 0){ | ||
| + | execvp("mplayer",argv); | ||
| + | printf("exec failed\n"); | ||
| + | return -1; | ||
| + | }else{ | ||
| + | fd = open("/opt/fifo",O_WRONLY); | ||
| + | if(fd < 0){perror("open fifo fail\n");return -1;} | ||
| + | sleep(1); | ||
| + | do{ | ||
| + | choice = ui_choice(); | ||
| + | switch(choice){ | ||
| + | case 1:write(fd,"pause\n",6);break; | ||
| + | case 2:write(fd,"seek 0 1\n",9);break; | ||
| + | case 3:write(fd,"pt_step 1\n",10);sleep(1);break; | ||
| + | case 6:write(fd,"quit\n",5);break; | ||
| + | default:break; | ||
| + | } | ||
| + | }while(choice != 6); | ||
| + | |||
| + | system("clear"); | ||
| + | wait(NULL); | ||
| + | } | ||
| + | close(fd); | ||
| + | </syntaxhighlight> | ||
| + | --> | ||
| + | [[File:playCtrl_001.png|800px|link= ]] | ||
| + | |||
| + | |||
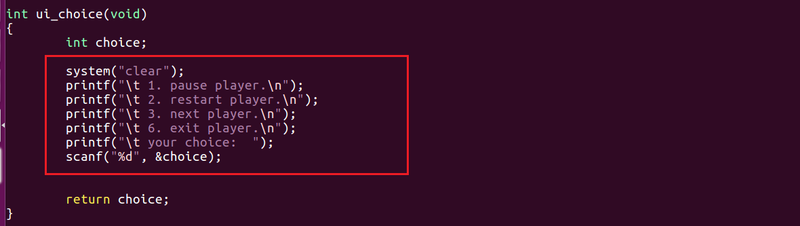
| + | 在ui_choice函数中,添加: | ||
| + | <!-- | ||
| + | <syntaxhighlight lang="ruby"> | ||
| + | |||
| + | system("clear"); | ||
| + | printf("\t 1. pause player.\n"); | ||
| + | printf("\t 2. restart player.\n"); | ||
| + | printf("\t 3. next player.\n"); | ||
| + | printf("\t 6. exit player.\n"); | ||
| + | printf("\t your choice: "); | ||
| + | scanf("%d", &choice); | ||
| + | |||
| + | </syntaxhighlight> | ||
| + | --> | ||
| + | |||
| + | [[File:playCtrl_002.png|800px|link= ]] | ||
| + | |||
| + | ====交叉执行演示==== | ||
| + | |||
| + | *程序编译 | ||
| + | arm-linux-gcc playCtl.c -o playCtl | ||
| + | |||
| + | 可以看到在当前目录下生成了一个名为playCtl的可执行文件 | ||
| + | |||
| + | *程序挂载 | ||
| + | |||
| + | 回到开发板终端,确定网络是接通情况下,执行 | ||
| + | mount -o nolock ubuntuIP:/nfs /nfs | ||
| + | |||
| + | 注意: ubuntuIP是你的ubuntu的IP地址,不要搞错了哦 | ||
| + | |||
| + | *程序执行 | ||
| + | |||
| + | cd /nfs/playDemo | ||
| + | mkfifo /opt/fifo | ||
| + | ./playCtl | ||
| + | |||
| + | 可以看到开发板显示屏幕开始播放视频,而在终端可以看到控制列表,输入对应的数字可以执行相应的功能 | ||
| + | |||
| + | <br> | ||
| + | ====拓展功能开发==== | ||
| + | * 添加播放上一首功能 | ||
| + | *添加音量调节功能 | ||
| + | |||
| + | <!-- | ||
| + | 参考代码: | ||
| + | |||
| + | 1.添加播放上一首功能 | ||
| + | *在ui_choice函数中,添加 | ||
| + | printf("\t 4. prev player.\n"); | ||
| + | |||
| + | *在main函数中,添加 | ||
| + | case 4:write(fd,"pt_step -1\n",11);sleep(1);break; | ||
| + | |||
| + | 2.添加音量调节功能 | ||
| + | <pre> | ||
| + | int ui_choice(void) | ||
| + | { | ||
| + | int choice; | ||
| + | system("clear"); | ||
| + | printf("\t 1. pause player.\n"); | ||
| + | printf("\t 2. restart player.\n"); | ||
| + | printf("\t 3. next player.\n"); | ||
| + | printf("\t 4. prev player.\n"); | ||
| + | printf("\t 5. set volume.\n"); //新加 | ||
| + | printf("\t 6. exit player.\n"); | ||
| + | printf("\t your choice: "); | ||
| + | scanf("%d", &choice); | ||
| + | |||
| + | return choice; | ||
| + | } | ||
| + | </pre> | ||
| + | |||
| + | *在main函数相应位置中,添加: | ||
| + | <pre> | ||
| + | case 4:write(fd,"pt_step -1\n",11);sleep(1);break; | ||
| + | case 5: | ||
| + | do{ | ||
| + | printf("enter volume value(0-100):"); | ||
| + | scanf("%d",&num); | ||
| + | }while(num > 100 || num < 0); | ||
| + | memset(volume,0,sizeof(volume)); | ||
| + | sprintf(volume,"volume %d 1\n",num); | ||
| + | write(fd,volume,strlen(volume)); | ||
| + | break; | ||
| + | case 6:write(fd,"quit\n",5);break; | ||
| + | </pre> | ||
| + | --> | ||
| + | |||
| + | |||
| + | |||
===动手实践=== | ===动手实践=== | ||
2023年12月11日 (一) 15:42的版本
|
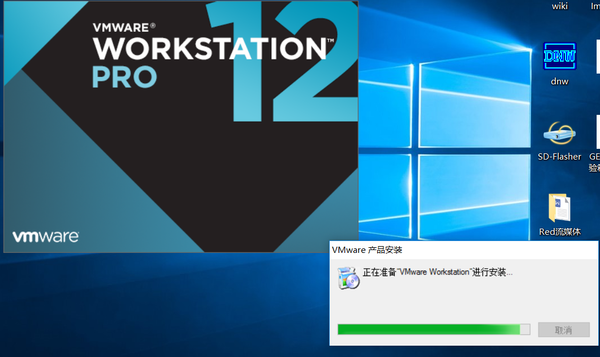
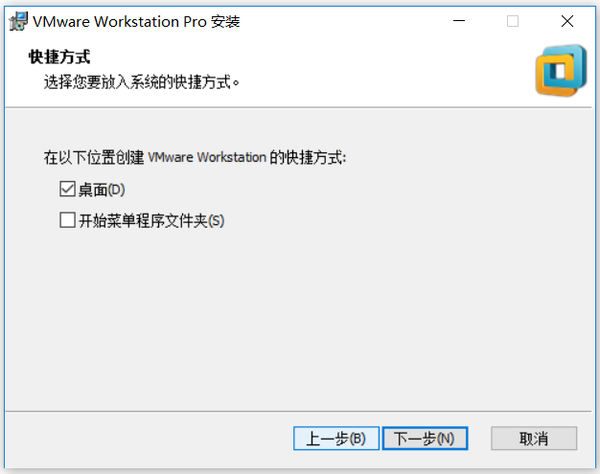
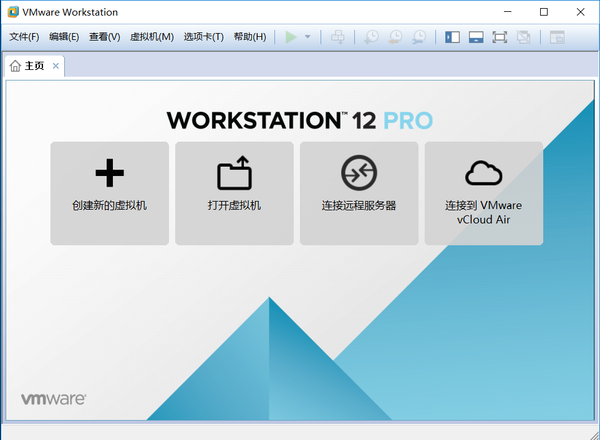
正文 目录vmware软件安装软 件 包:VMware-workstation-full-12.0.0.zip 操作系统:windows-7/8/10 安装过程: 如下所示 准备工作1 在d盘创建一个temp目录
2 将VMware-workstation-full-12.0.0.zip拷贝到temp目录
3 解压VMware-workstation-full-12.0.0.zip
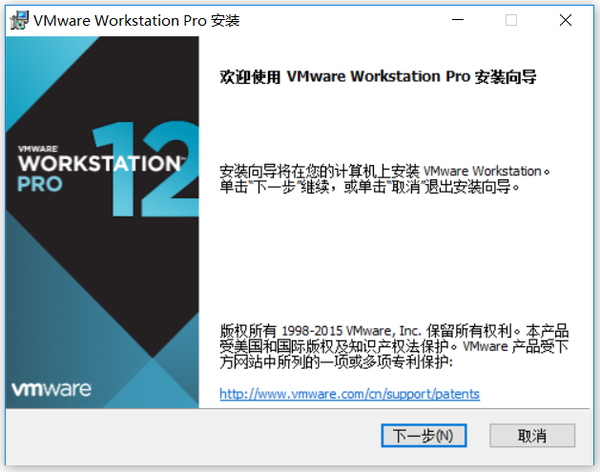
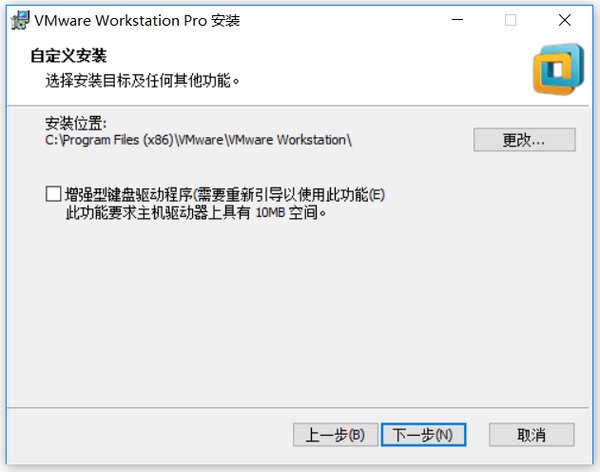
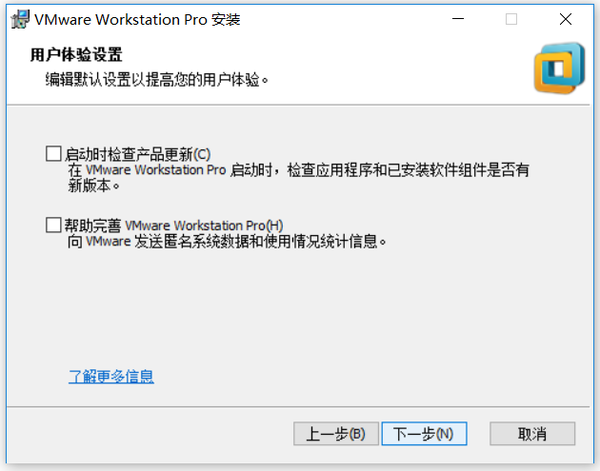
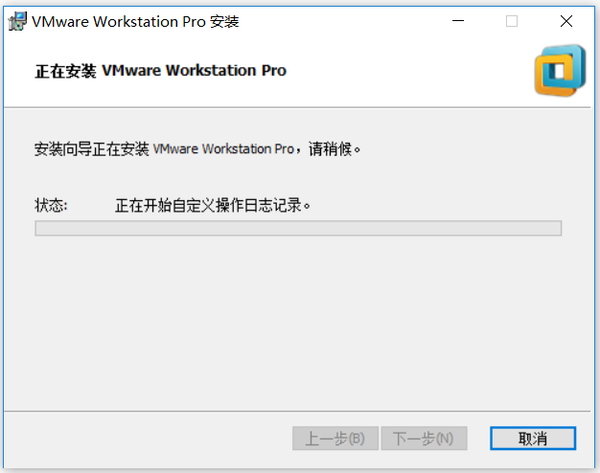
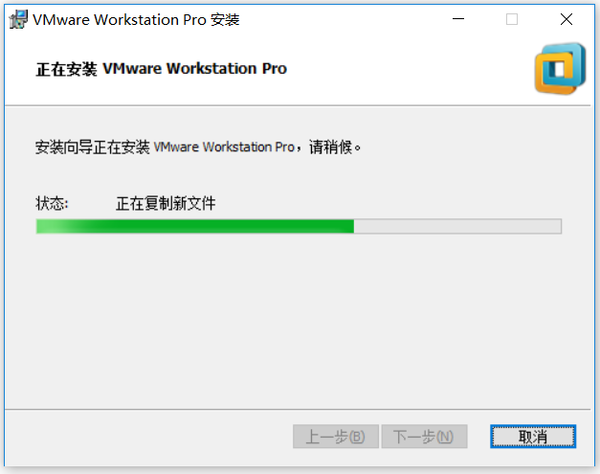
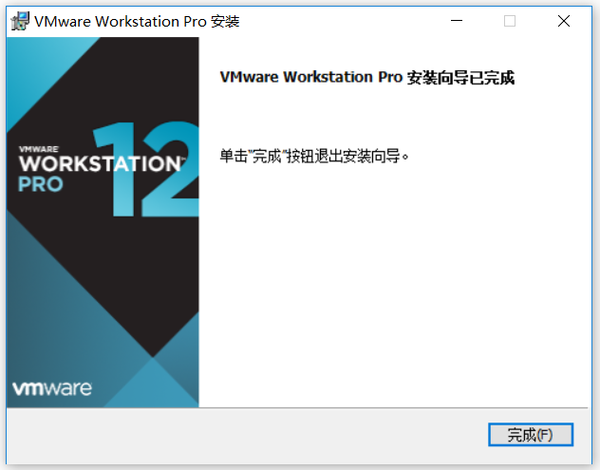
开始安装
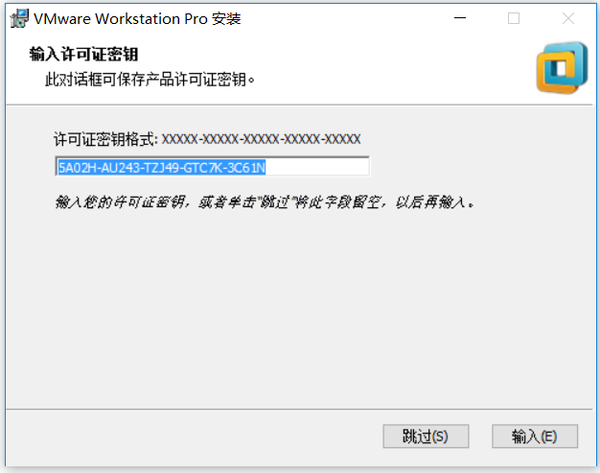
安装密钥
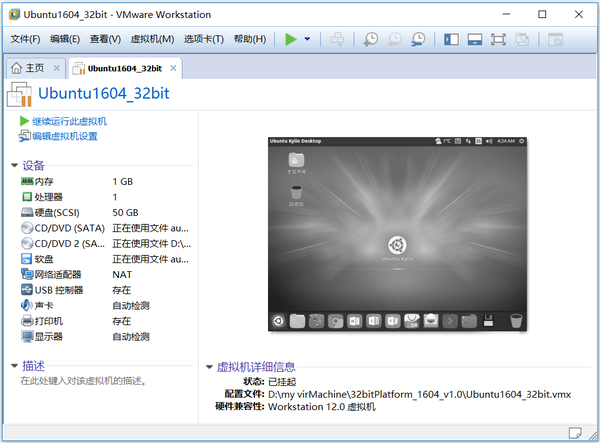
【VirtualBox加载Ubuntu||VirtualBox加载Ubuntu】 ubuntu安装配置软 件 包:64bitPlatform_1604_v5.0.zip(也可能是其他版本) 操作系统:windows-7/8/10 安装过程: 如下所示 安装ubuntu系统
可以看到64bitPlatform_1604_v5.0目录,即为ubuntu16.04的系统镜像,可以直接使用。
运行ubuntu系统
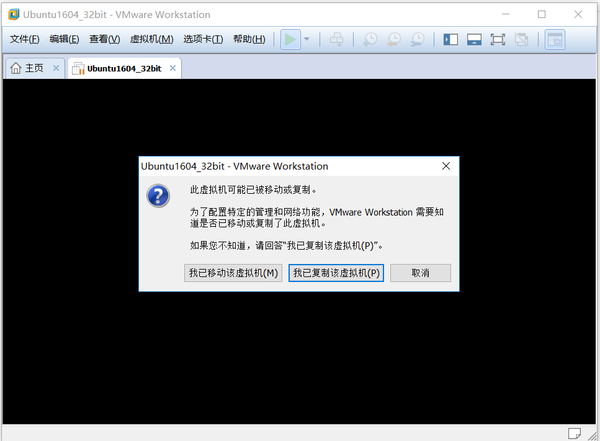
可以看到一个“挂起状态”的ubuntu16.04系统。
正常进入“ubuntu系统主界面”。
至此,整个ubuntu1604系统安装完毕。
设置共享目录共享目录主要是用于实现windows与ubuntu两个系统之间的数据交互,比如windows有一个文件要给ubuntu系统用时,就可以将文件放置到共享目录下传给ubuntu。 新的共享目录可以如下配置:
# ls /mnt/hgfs 可以看到没有名为shareWin的目录文件,接下来做如下操作:
# ls /mnt/hgfs
# cd /mnt/hgfs/shareWin/
# ls
发现在/mnt/hgfs目录下,多了一个名为shareWin的目录文件,再进到里面可能看到之前创建的hello文件。 至此,两个系统间的共享文件夹设置并启完毕,后面如果两个系统需要共享资料时,可以将其放到共享目录即可。
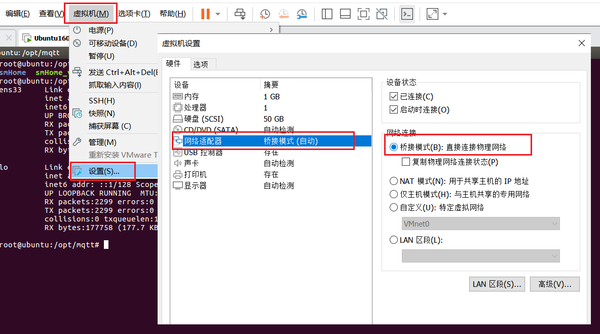
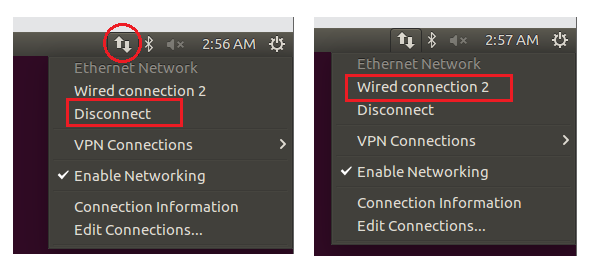
网络配置连接
注意:必须设置为桥接方式。
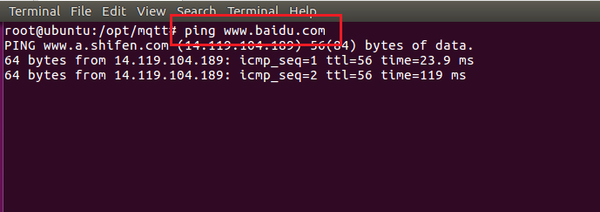
如果可以ping通百度,则网络配置成功。
shell命令简单使用shell终端打开点击mouse右键,选中”open terminal”,打开shell终端。 或者同时按下“ctrl + alt +t”快速打开
gec@ubuntu:~$
~ :家目录 /home/gec
root@ubuntu:~#
常用shell命令此处略
实践操作
# mkdir /opt/shell_test          //在opt目录下新建一个名为shell_test文件
# ls /opt/shell_test             //查看/opt/shell_test目录
# cd /opt/shell_test             //进入/opt/shell_test目录
# mkdir hello			 //新建一个名为hello目录
# ls                             //查看当前目录内容
# rmdir hello                    //删除hello目录
# ls
# touch hello.c                  //创建一个hello.c文件
# ls
# rm hello.c                     //删除hello.c文件
# ls
# mkdir hello
# touch hello/hello.c 	         //在hello目录下新建一个hello.c文件
# touch world.c                  //新建world.c文件
# ls
# rm -rf ./*                     //删除当前目录下所有文件
# ls
# cd /opt/shell_test                    //进入/opt/shell_test目录下
# touch hello.c                         //新建hello.c
# ls
# chmod 777 hello.c                     //修改hello.c文件为可读写
# ls

# cp hello.c hello_backup.c  -rdf       //将hello.c拷贝保存为一个新文件hello_backup.c
# ls

# mv hello_backup.c 123.c               //将hello_backup.c改名为123.c
# ls
# mkdir test
# mv 123.c test                         //将123.c文件移到test目录下
# mv test smartHome                     //将test目录改名为smartHome
# ls
# tar cvfj smartHome.tar.bz2 smartHome  //将smartHome目录压缩为smartHome.tar.bz2文件
# ls
# rm -rf smartHome
# ls
# tar xvfj smartHome.tar.bz2            //将smartHome.tar.bz2文件解压为smartHome目录
# ls
# cd /opt/shell_test
# rm -rf ./*

# touch hello.c
# vi hello.c
可以进入文件中,按下i,就可以编辑内容

#include <stdio.h>
#include <unistd.h>
int main()
{
        while(1)
        {
                printf("hello world.\n");
                sleep(1);
        }

        return 0;
}

按下Esc,退出插入模式,再输入
:wq!  (保存退出)

# gcc hello.c -o hello        // 将hello.c编译为hello
# ./hello                     // 执行可执行文件hello
应用开发测试代码开发
进入ubuntu,打开终端,执行 cd /nfs 从网页中下载demo包playDemo.tar.bz2[下载],并放置共享文件目录,返回ubuntu终端,执行: cp /mnt/hgfs/shareWin/playDemo.tar.bz2 ./ tar xvfj playDemo.tar.bz2 cd playDemo
打开源文件playCtl.c vi playCtl.c 在main函数中,添加
交叉执行演示
arm-linux-gcc playCtl.c -o playCtl 可以看到在当前目录下生成了一个名为playCtl的可执行文件
回到开发板终端,确定网络是接通情况下,执行 mount -o nolock ubuntuIP:/nfs /nfs 注意: ubuntuIP是你的ubuntu的IP地址,不要搞错了哦
cd /nfs/playDemo
mkfifo /opt/fifo
./playCtl
可以看到开发板显示屏幕开始播放视频,而在终端可以看到控制列表,输入对应的数字可以执行相应的功能
拓展功能开发
动手实践
|